8. May, 2013
Tutorial - From Drawing to App
Ray Wenderlich Tutorial addendum
As a faithful reader of all the great blog posts and tutorials found on Ray Wenderlichs page, I decided to write a little addendum to a post by Brian Moakley named “Core Graphics Tutorial: Curves and Layers”. Dealing with drawing using Core Graphics, the tutorial returned my thoughts to the time when I came up with the concept behind SVGm - Can I somehow draw my graphic and convert it to code.
In the tutorial Brain Moakley shows how to come from a mockup jpeg image to the code necessary to recreate some parts of the image using Core Graphics. As this recreation process is quite time consuming I will show you how easy this task will be, using SVGm do the job.

Recreation of mockup
The first step is to recreate the mockup image in svg. Using Adobe Illustrator it is quite easy to draw on top of the jpeg image and recreate the different elements in the image. If you are not familiar with Adobe Illustrator a lot of great tutorials can be found on Vector Tuts+.
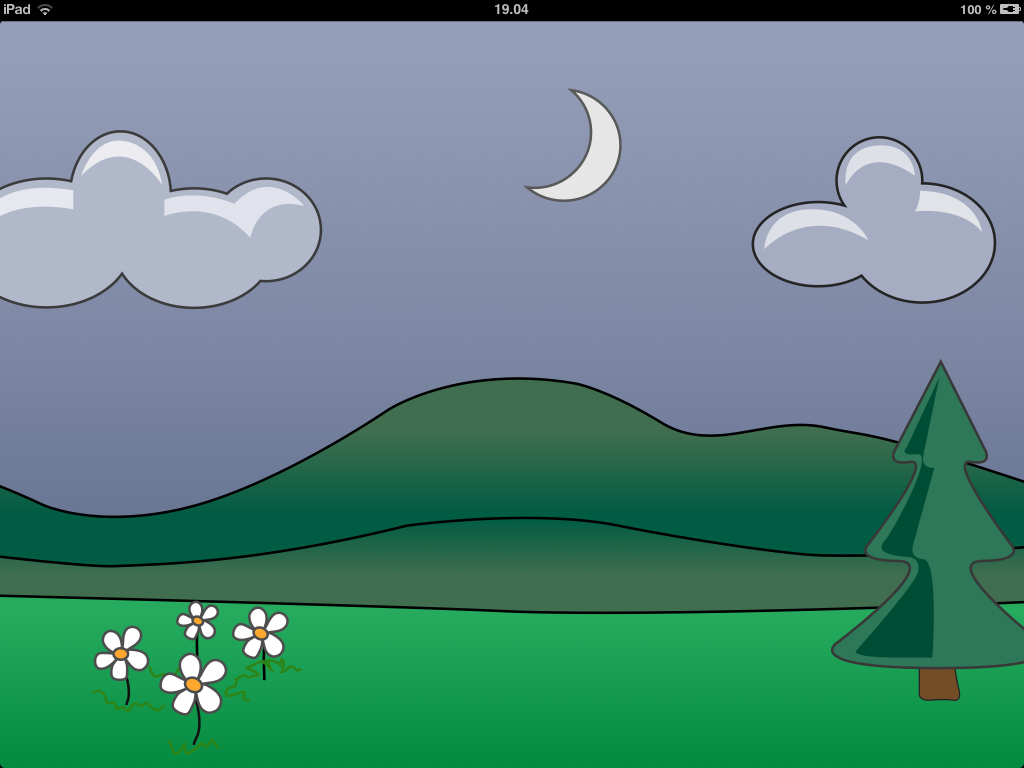
Recreating the mockup I ended up with the following svg image:

Converting mockup svg image to Objective-C using SVGm
Startup SVGm (get it in the App Store) on your iPhone or iPad and press the SVGm button to convert custom svg file. Enter the URL for the mockup svg (http://www.frifeldt.com/svgm/svg/mockup.svg) file and press the gears button to convert the file to code.
When the conversion is completed press the export button to get the code.
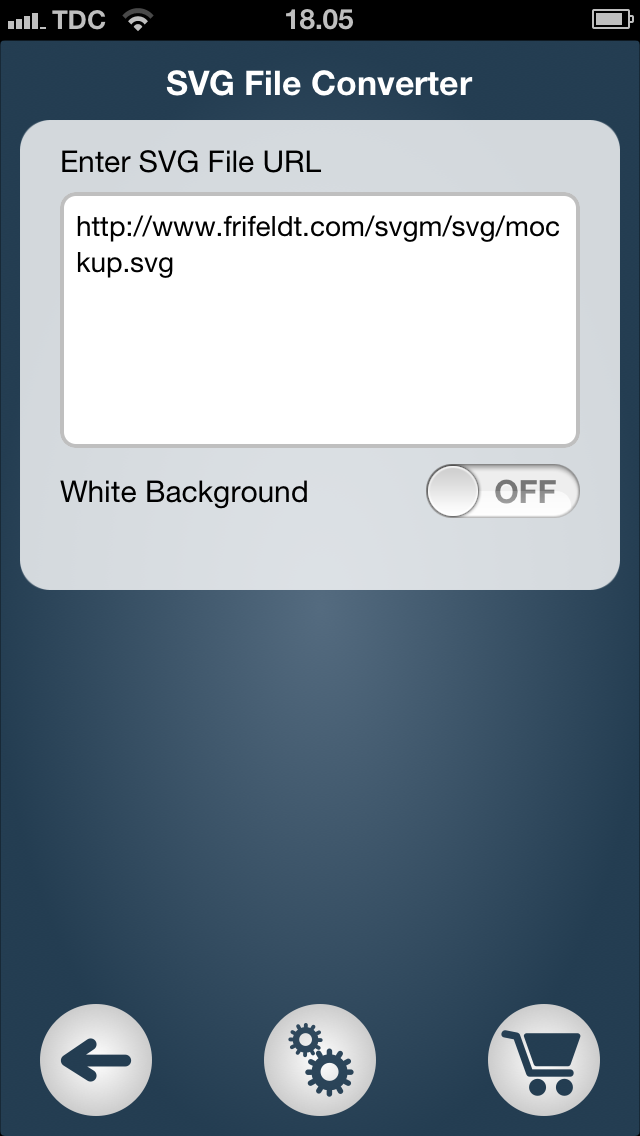
When the conversion is completed press the export button to get the code.
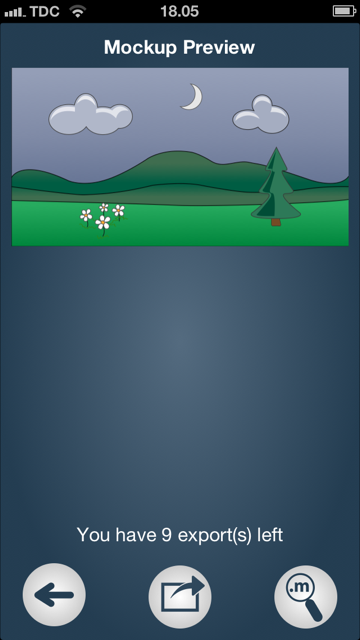
When the conversion is completed press the export button to get the code. To avoid doing the conversion yourself the code can be downloaded here.
Using the generated code
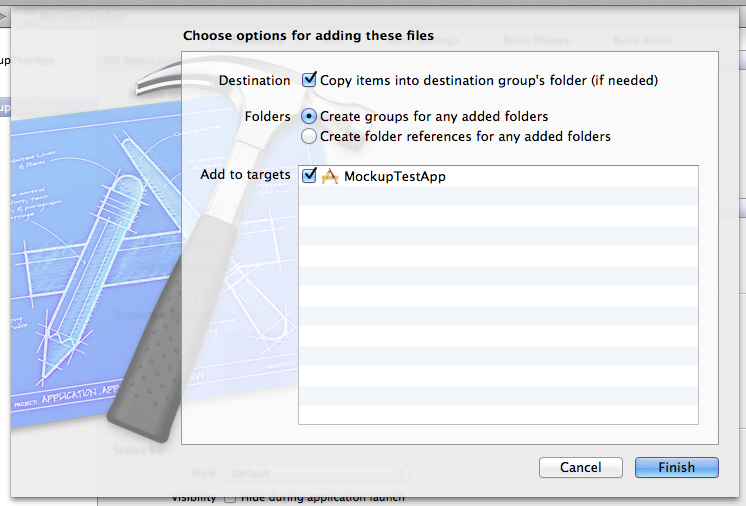
Startup Xcode and create a new Single View Application and set Devices to Universal to support both iPhone and iPad. Add the generated files (Mockup.h and Mockup.m) to the project and ensure to add the files to targets.
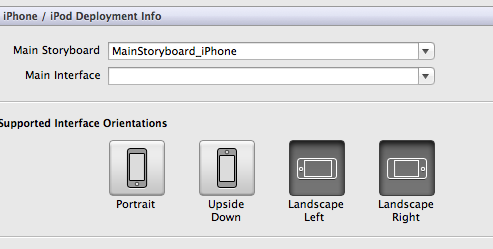
Under Summary in the App settings change the supported interface orientation only to allow Landscape for both iPhone and iPad targets. This step can be omitted but taking care of screen orientation change will require additional code and will not be handled in this tutorial.
Open ViewController.m and include the Mockup.h file.
#import "Mockup.h"
To draw the mockup in the standard view, initiate the Mockup class in the viewDidLoad method added the following lines of code:
- (void)viewDidLoad
{
    [super viewDidLoad];
    // Do any additional setup after loading the view, typically from a nib.

    // Init the mockup and add it as a subview
    CGRect frameSize = CGRectMake(0, 0, self.view.frame.size.height, self.view.frame.size.width);
    Mockup * mockupView = [[Mockup alloc] initWithFrame:frameSize];
    [self.view addSubview:mockupView];
}
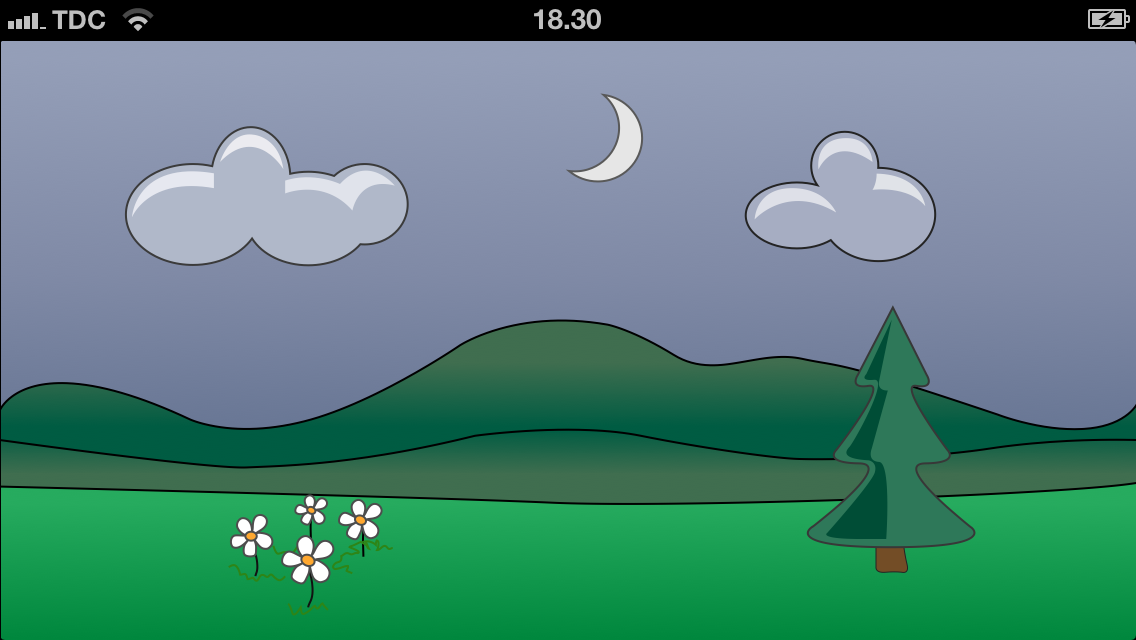
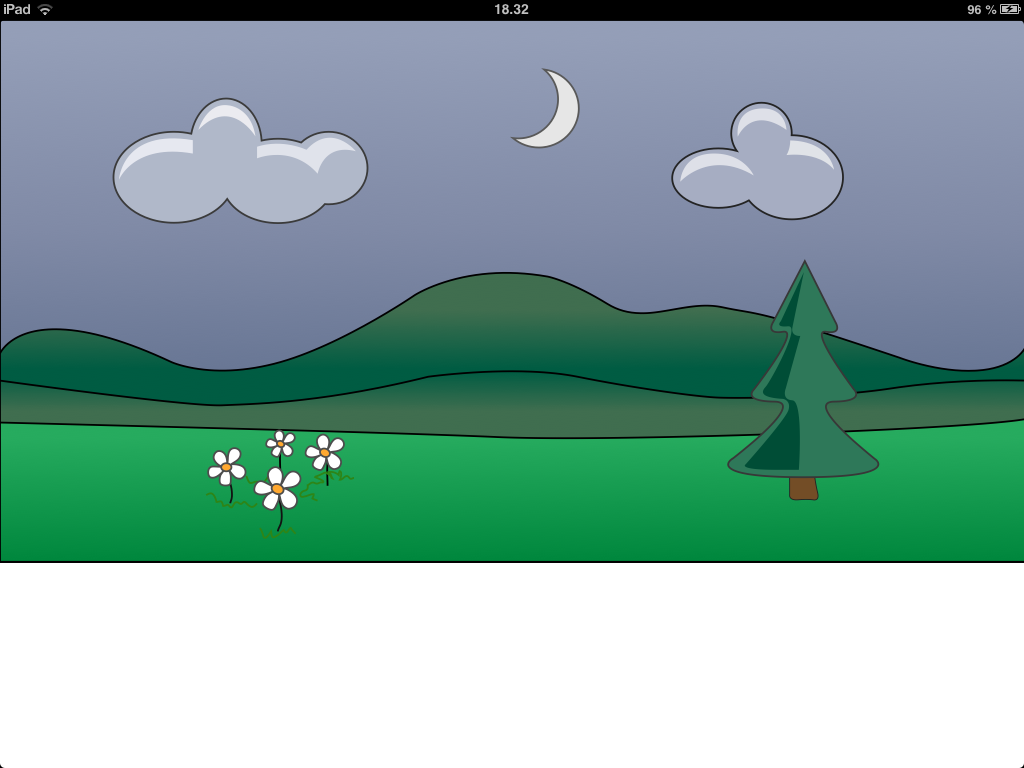
Start the simulator for either iPhone or iPad and you should see the mockup drawn in the view to fit the screen horizontally.
Note:
For the iPad a white bar will be visible in the bottom of the screen as the the generated code will keep aspect ratio and just fit in the frame used when initialised.
To fill the entire screen it will be necessary to allow drawing outside the screen boundary. This can be done by changing the code to one of the following code snippets:
- (void)viewDidLoad
{
    [super viewDidLoad];
    // Do any additional setup after loading the view, typically from a nib.

    // Init the mockup and add it as a subview
    CGRect frameSize = CGRectMake(0, 0, self.view.frame.size.height, self.view.frame.size.width);
    Mockup * mockupView = [[Mockup alloc] initWithFrame:frameSize];
    [self.view addSubview:mockupView];

    // Set dimensions to fit the ipad screen height in landscape mode by setting big canvas width
    CGRect screenRect = [[UIScreen mainScreen] bounds];
    [mockupView setDimensions:CGSizeMake(screenRect.size.height*2,screenRect.size.width)];
    [mockupView setNeedsDisplay];
}
Or the following change, where the canvas are moved a little to the left when initialised.
- (void)viewDidLoad
{
    [super viewDidLoad];
    // Do any additional setup after loading the view, typically from a nib.

    // Init the mockup and add it as a subview
    // Offset the canvas to see more of the image
    CGRect screenRect = [[UIScreen mainScreen] bounds];
    CGRect frameSize = CGRectMake(-(screenRect.size.width/4), 0, screenRect.size.height*2, screenRect.size.width);
    Mockup * mockupView = [[Mockup alloc] initWithFrame:frameSize];
    [self.view addSubview:mockupView];
}
Using the last code snippet the result will be as follows.